Openers · Brampton
Photo-Eye Sensor Alignment or Replacement in Brampton
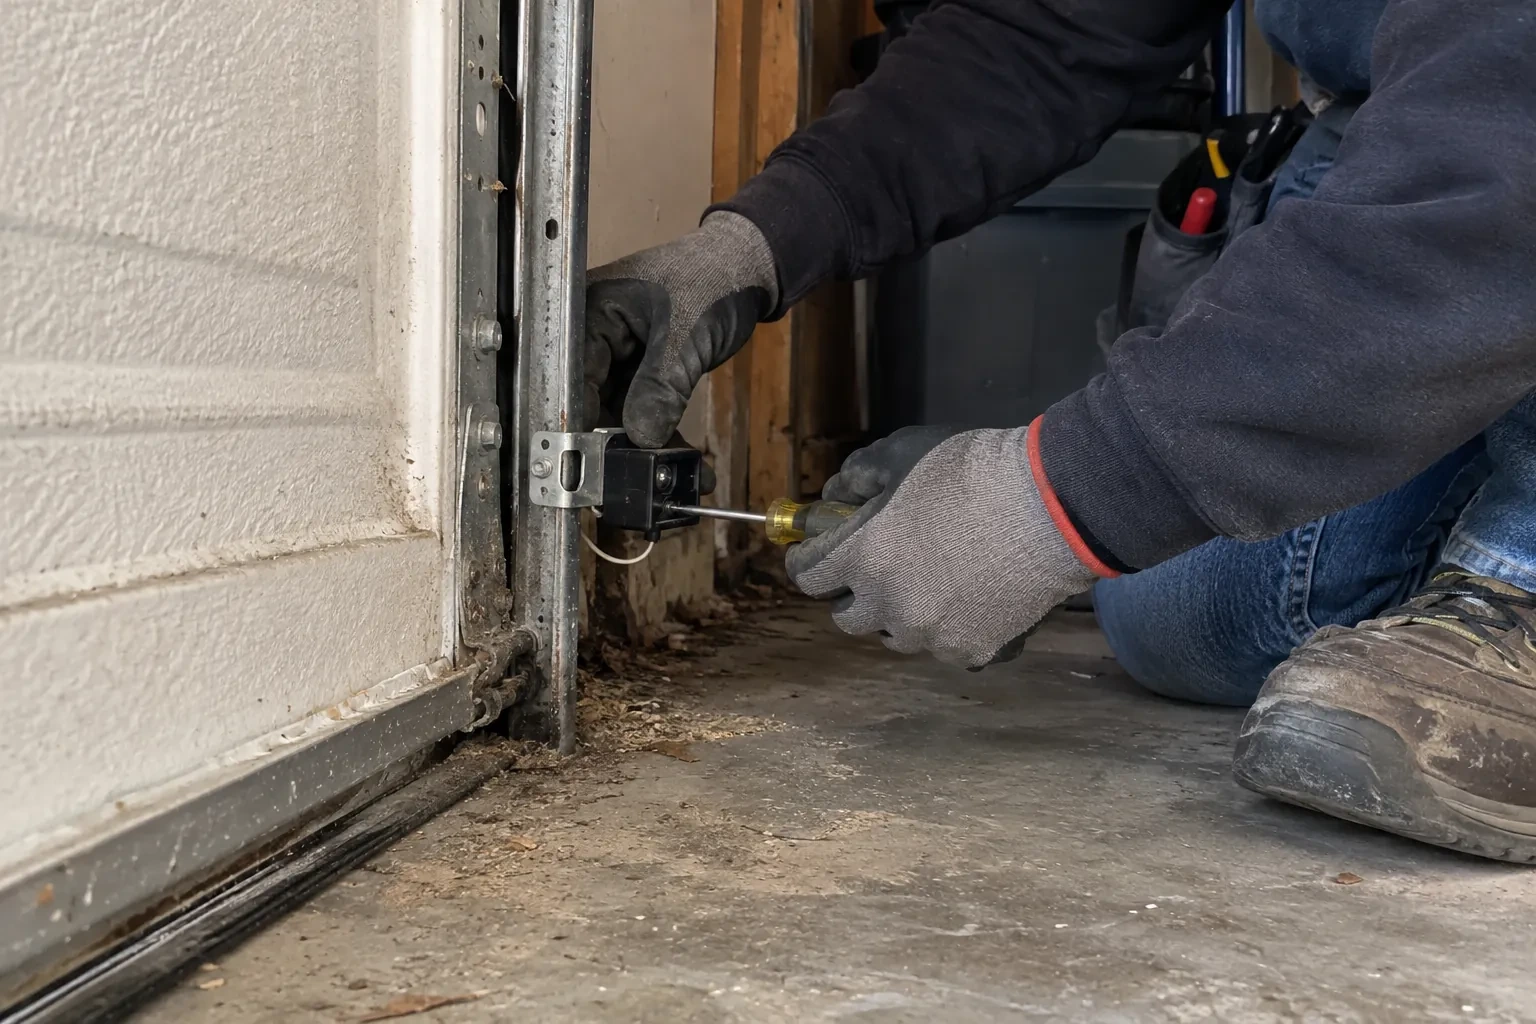
The small light on one of the sensors near the floor has gone dark, or it flickers when someone walks past the track.
In plain words
Two small sensors face each other across the doorway: one sends an infrared beam, the other receives it. While the beam lands on the receiver, the opener will close the door; the moment anything interrupts it, the door stops and returns to open. Every sensor call comes down to why the receiver has lost the beam: an object, a bent bracket, a dirty or frosted lens, sun in the receiving eye, a broken wire or a tired sensor. The technician works through those in order, fixes the one that applies, and shows you the steady indicator lights that mean the pair is talking again.
How the visit goesThe small light on one of the sensors near the floor has gone dark, or it flickers when someone walks past the track. The other one glows steadily. The door refuses to close from the car.
Photo-Eye Sensor Alignment or Replacement
How the visit goes
Following the wire home
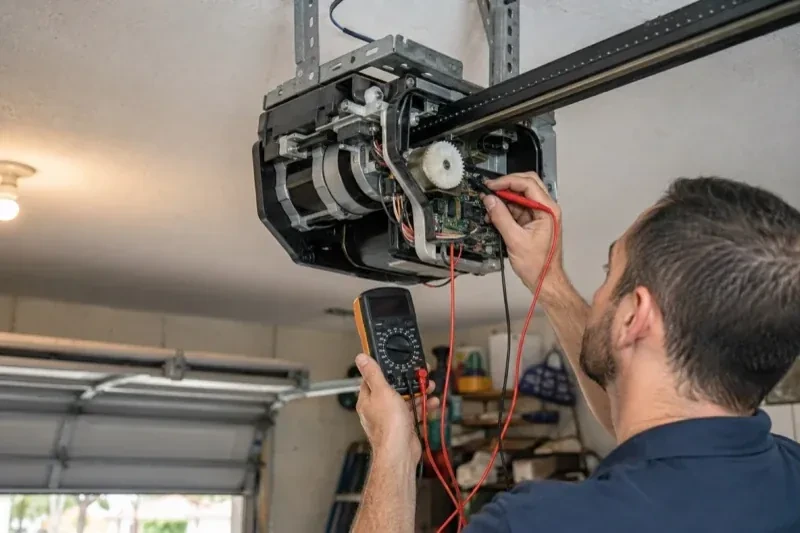
When the lights or the code point to the circuit, the low-voltage wire is followed from each sensor to the head unit. The technician looks for staples driven through the insulation, wire pinched behind a track bracket, sections chewed by mice, cuts where shelving or drywall screws went in, splices that have corroded, and terminals at the head unit that are loose or connected the wrong way round. A meter confirms continuity and polarity rather than guessing. Where the wire disappears into a finished ceiling, the readings at each end tell whether the hidden section is sound or whether a fresh run is the tidier answer.
Proving it with the two tests
No sensor job is finished on a steady light alone. The door is closed from the wall control and from a remote, and while it is on its way down an object is passed through the beam; the door must stop and return to fully open. Then a 2x4 is laid flat on the floor under the centre of the door and the door is closed onto it; it must reverse on contact. Both are repeated, the opener's diagnostic light is confirmed clear, and any app or hub reporting a sensor code is refreshed. The customer watches the tests so the normal behaviour is seen, not described.
Keeping the brackets out of harm's way
Most repeat sensor calls come from the same few habits, and they are easy to change. Keep recycling bins, bicycles, boots and the snow shovel away from the bottom of the door track on both sides. Park with a little room to spare so a bumper never meets a bracket. When you sweep or blow snow out of the garage, aim away from the sensors rather than at them. If shelving or a workbench goes in along that wall, leave the strip near the floor free. The brackets are sturdy, but they hold a precise line, and a nudge that would not bother anything else is enough to lose the beam.
Photo-Eye Sensor Alignment or Replacement
In the van
Wire connectors
Protective wire channel
Receiving-eye sun shade
Two-conductor low-voltage wire
Track-mount sensor brackets
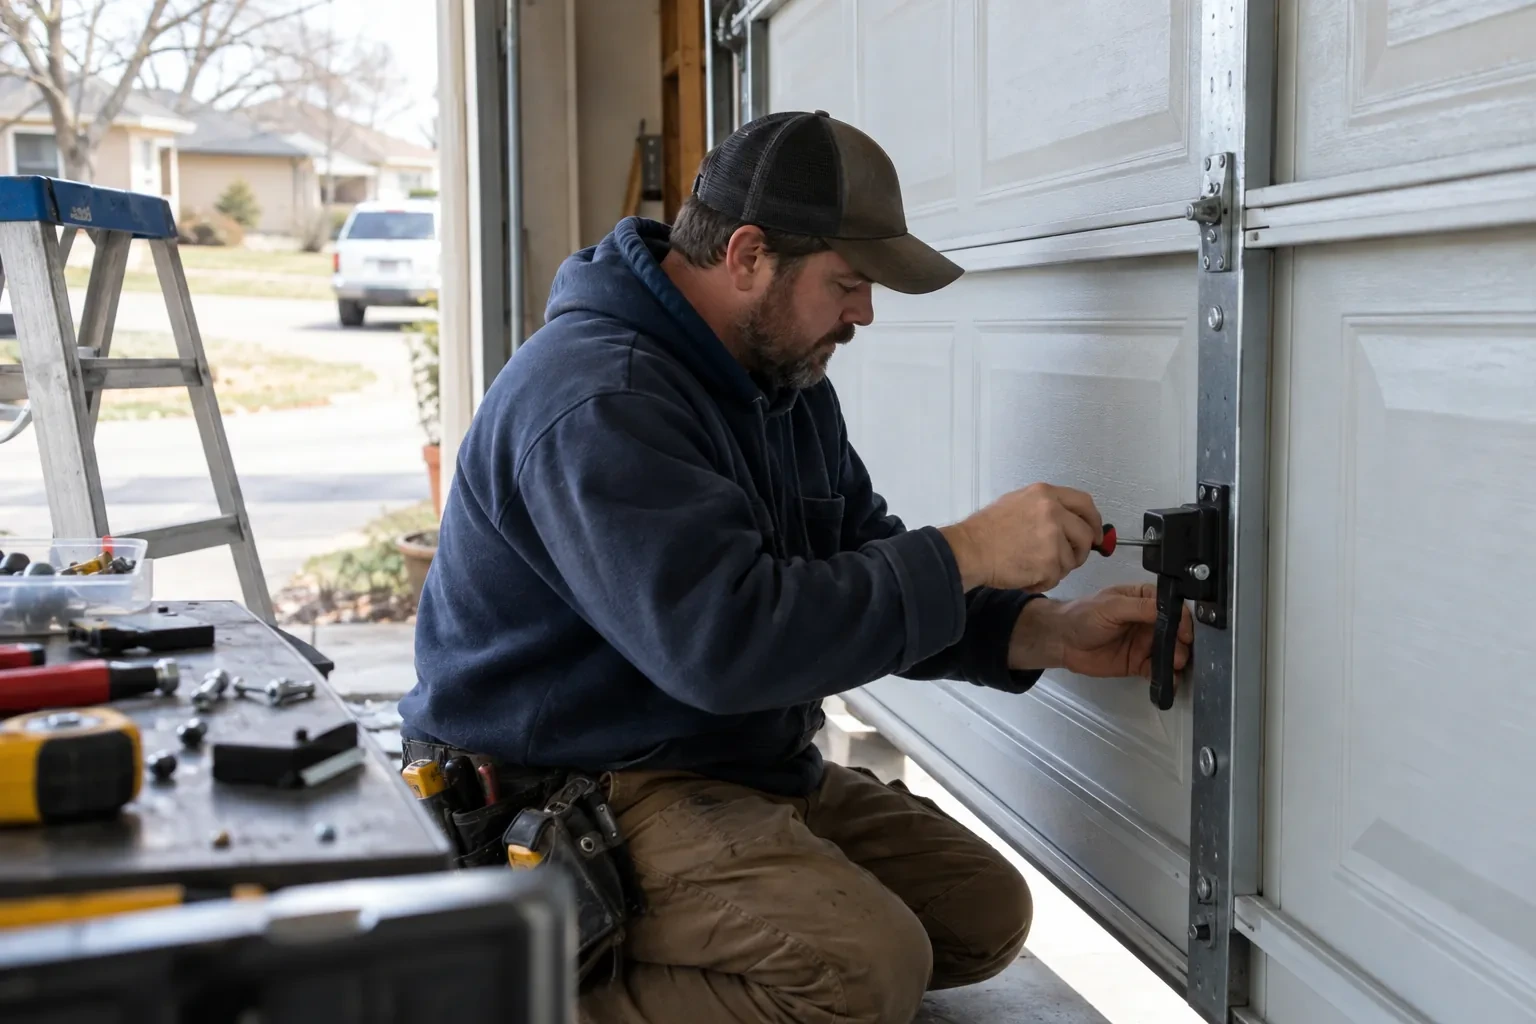
Photo-Eye Sensor Alignment or Replacement
What affects the quote
Winter conditions on the day
Snow and ice packed against the brackets, a frozen bottom seal or a frozen floor where anchors must go all add a little clearing and care before the sensor work itself can start.
Wall or floor mounting with anchors
Mounting into concrete or masonry rather than onto the track means drilling, anchors and sealing against water, which takes more time than clipping to the rail.
Door-side findings
A balance problem, a stiff roller or a bottom seal that needs replacing sometimes shows up during testing. Those belong to their own service and are noted and quoted separately rather than hidden in the sensor work.
What to have ready
- Does the opener light flash when you press close, and how many times?
- What do the two small sensor lights show: both steady, one dark or flickering, or both dark?
- When you press close, does the door bounce back, sit still, or go down only with the wall button held?
Photo-Eye Sensor Alignment or Replacement: questions
QuestionsWhy does it only misbehave on sunny mornings?
Sunlight reaching into the receiving lens can overwhelm the infrared beam from the sending sensor, so for an hour or two the opener acts as if the path is blocked. Garages that face the low sun in winter see it most. The cure is to exchange the two sensors' positions so the receiver no longer looks toward the light, or to fit a small shade over the receiving lens. Once that is done the time of day stops mattering.
How should I clean the lenses?
Gently, with a soft dry or lightly damp cloth, the way you would clean eyeglasses. Never scrape a lens or use a solvent, since a scratched or clouded lens scatters the beam. Wipe both sensors, then check that the receiving light comes on steadily. If a lens frosts on cold mornings, give it a few minutes to clear or dry it with a cloth. A quarterly wipe keeps dust, cobwebs and salt film from building up.
Can the sensors be mounted on the wall instead of the track?
Track-mounted clips are the preferred, manufacturer-recommended arrangement. A wall-mounted angle bracket is the next choice where the track sits far back from the opening or the clip keeps getting bumped; mounting to the concrete floor is kept as a last resort, used only when the sensor's own instructions allow it. The same rules apply: both sensors at a matched height no higher than about 15 cm, level, facing each other, with the wire secured. Wall mounting sometimes gives a cleaner beam line on older doors with unusual track layouts.
Related services
- Chain-Drive Opener RepairThe motor runs, you can hear it working, but the door never moves.
- Belt-Drive Opener RepairThere is a new squeal from the front of the rail, up near the header, on every cycle.
- Garage Door Opener ReplacementYou swapped the old wooden door for a heavier insulated steel one, and the twenty-year-old opener that was kept has never settled.